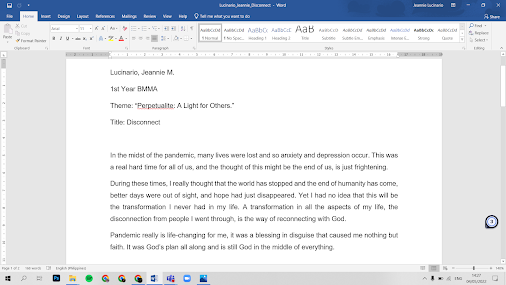
MS Word Manual
Inserting Header and Footer
1. Go to Insert and Add Header. Choose whatever Header you desire.
Since the style of Header I chose which the even page is different from odd page. This is what I did.
2. Put title on your Header, then go to Format to add Shape Fill onto it. Choose your desired color.
3. Create your desired logo.
4. Next, go to Insert then click the Footer. Then design it whatever you like.
Inserting Cover Page
5. After that, go to Insert and find the Cover Page then create your desired Cover page.
Applying Headings 1, 2 and 3
6. Go to Home then find Heading 1 and apply it to all the bigger title on your document. You can also modify the Font Style and Font Size on what you desire.
7. Still in Home, but now find the Heading 2. Again, you can also modify Font Styles and Font Size on what you desire.
Do it again in Heading 3.
Inserting Table of Contents
8. Next, go to References and find the Table of Contents. Click the Automatic Table of Contents.
Applying Image Caption
9. Now go to References and find the Insert Caption. Add caption to the figure then click OK.
Inserting List of Figure
10. After naming all the figures, still in References find the Insert List of Figures.
Adding Footnote
11. Add Footnote by clicking the Insert Footnote, still in References.
Creating and Applying Citation
12. Now we'll proceed in Citation. Still in References then fine the Insert Citation. Fill up the blanks according to what is needed then click OK. Create your list of citations.
Inserting Bibliography
13. Finally, find the Bibliography then click it to apply the list of citations you create. Then you're done!
.png)